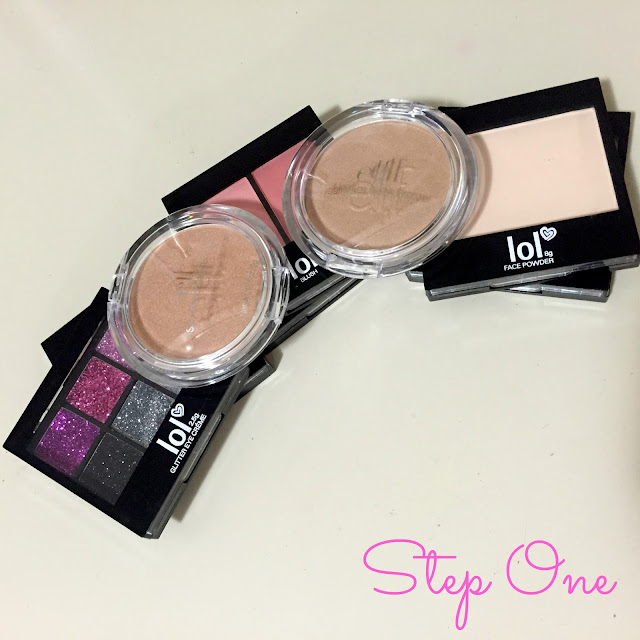
The first thing you will need to do is take a trip to your local Kmart/Red Dot/Reject Store/Big W and pick up the cheapest cosmetics you can find. Make sure the brand you choose has clear lids (much more appealing to little minds!) and remember it doesn't matter what colour you grab, as you will be discarding all of the contents. Quite often discount stores have a dollar bin or similar close the the checkout with old makeup they are trying to get rid of for a steal. Another thing you can do is keep your own empty makeup palettes to re-purpose.
Chose your felt colours (I found these sheets at Spotlight for around $1 each.) The glitter sheets were an added bonus - I had planned on adding glitter to some of the colours by using glitter glue over the top, but these sheets enabled me to skip this step! You will also need fabric/craft glue, cotton tips and scissors handy at this stage.
Simply take your chosen colour and make a light indentation of the space by pressing down. You can also use a pencil to lightly trace if you feel more comfortable cutting along a line. If you have chosen palettes with more than one compartment the same size (below), be sure to use the original cut piece as a stencil so you don't have to remeasure!
Add a few dots of glue onto the bottom of the palette and smear it around with a cotton tip before it starts to dry
Place the cut out felt in place and pat it down (especially around the edge) firmly ensuring there are no air bubbles.
Whilst shopping for the makeup palettes, I also picked up some very cheap brushes (the bigger the better!) and makeup sponges to go with the set. Your kids (school or your own) will love playing with this set - and be prepared to be sitting in the salon chair being made-up by many little hands.
Have a great week!


0 comments:
Post a Comment